Objective: AI site builders like Lovable generate apps for serverless platforms by default, so they don’t run on a Node host as they are. In this guide I document the end-to-end process I worked out for exporting a Lovable app (Vite, TanStack Start and Nitro) and deploying it to WP Engine’s Headless Platform.
1. Overview & Prerequisites
By default, Lovable compiles its frontend applications using TanStack Start and the Nitro server engine. Lovable’s default configuration is highly optimised for serverless edge deployments (like Cloudflare Workers).
WP Engine’s Headless platform runs containerised Node.js environments. To make the Lovable app work there, the build has to produce a standalone Node server and configure it to bind to the correct network interfaces.
Prerequisites:
- A Lovable account/project.
- A GitHub account.
- A WP Engine account with Headless enabled.
Step 2: Exporting Your Code from Lovable
To deploy to WP Engine via continuous integration, the codebase must live in a Git repository.
- Open your project in the Lovable Editor.
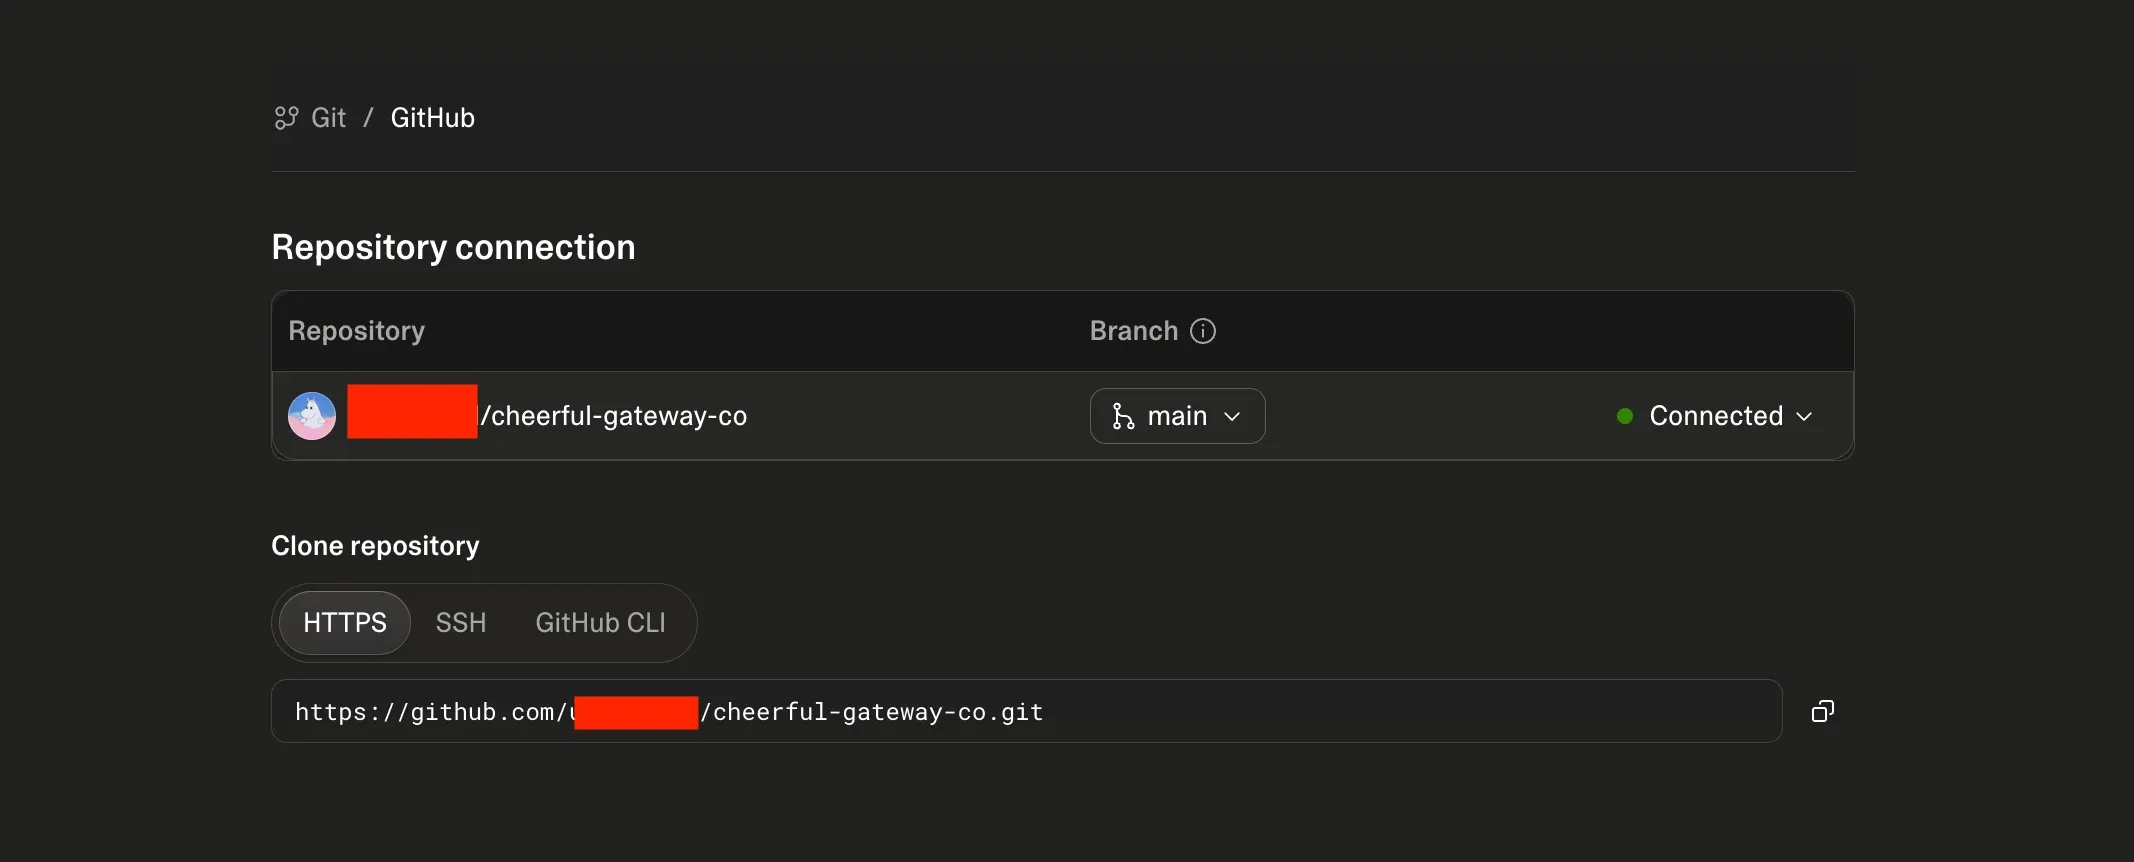
- Navigate to Project Settings > Git > GitHub (or click the
+icon in the chat). - Connect and authorise your GitHub account.
- Lovable will automatically generate a repository and sync your latest code.
- (Alternatively, on a paid plan, click the Download codebase icon in the code editor panel, extract the
.zip, and manually push it to a Git repository of your choice).
Step 3: Configuring the Codebase for WP Engine
Before connecting the repository to WP Engine, you must make two critical configuration changes to ensure the build outputs a compatible Node.js server. Pull your repository locally (or edit directly in GitHub).
A. Force Nitro to Build a Node Server
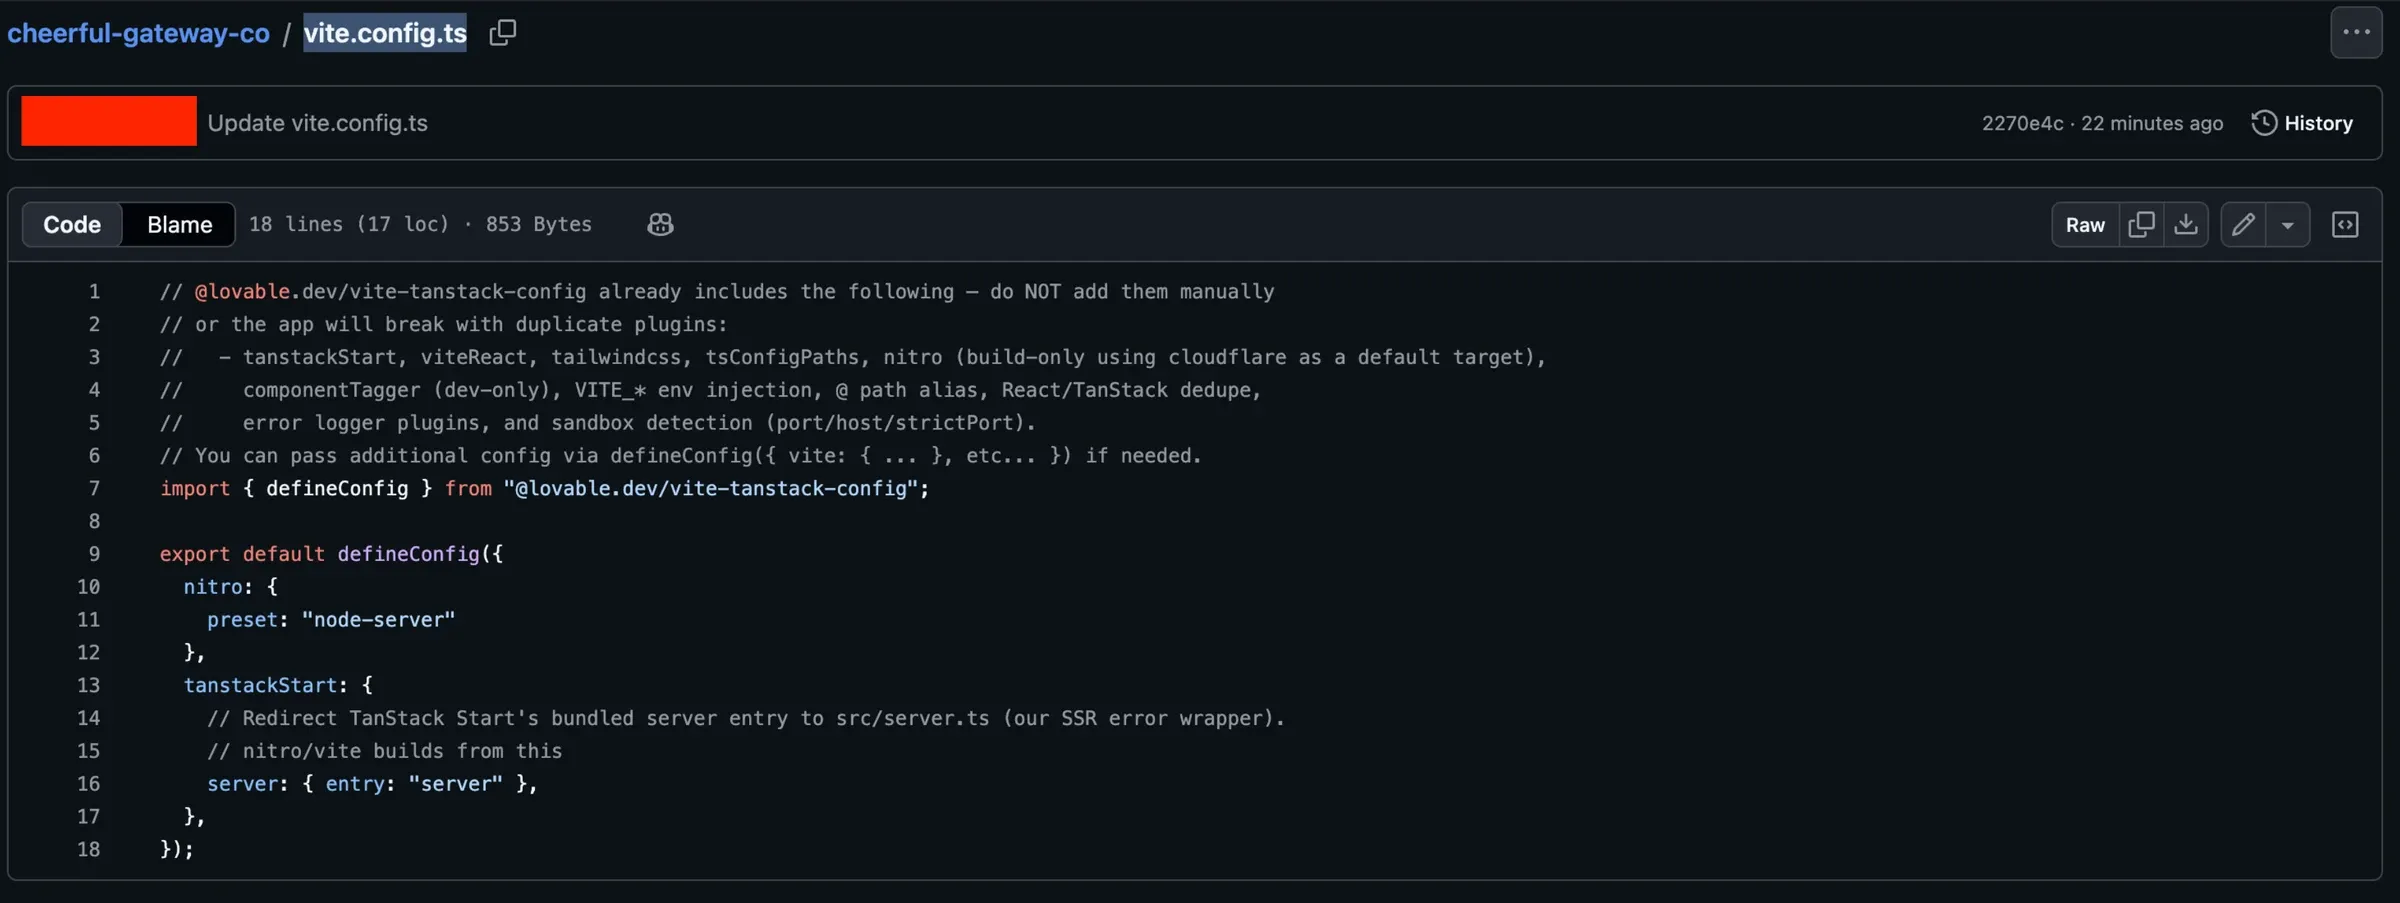
Because Lovable defaults to Cloudflare, the nitro preset in the Vite configuration has to be overridden.
File to edit: vite.config.ts (or .js)
Add the nitro: { preset: "node-server" } object to the configuration to prevent it from skipping the server build or building a Cloudflare Worker.
import { defineConfig } from "@lovable.dev/vite-tanstack-config";

export default defineConfig({
  // 1. ADD THIS BLOCK: Force Nitro to output a standalone Node.js server
  nitro: {
    preset: "node-server"
  },
  tanstackStart: {
    server: {
      entry: "server"
    },
  },
});
B. Update package.json Commands & Engines
WP Engine needs to know exactly which Node version to use and exactly how to start the newly compiled server.
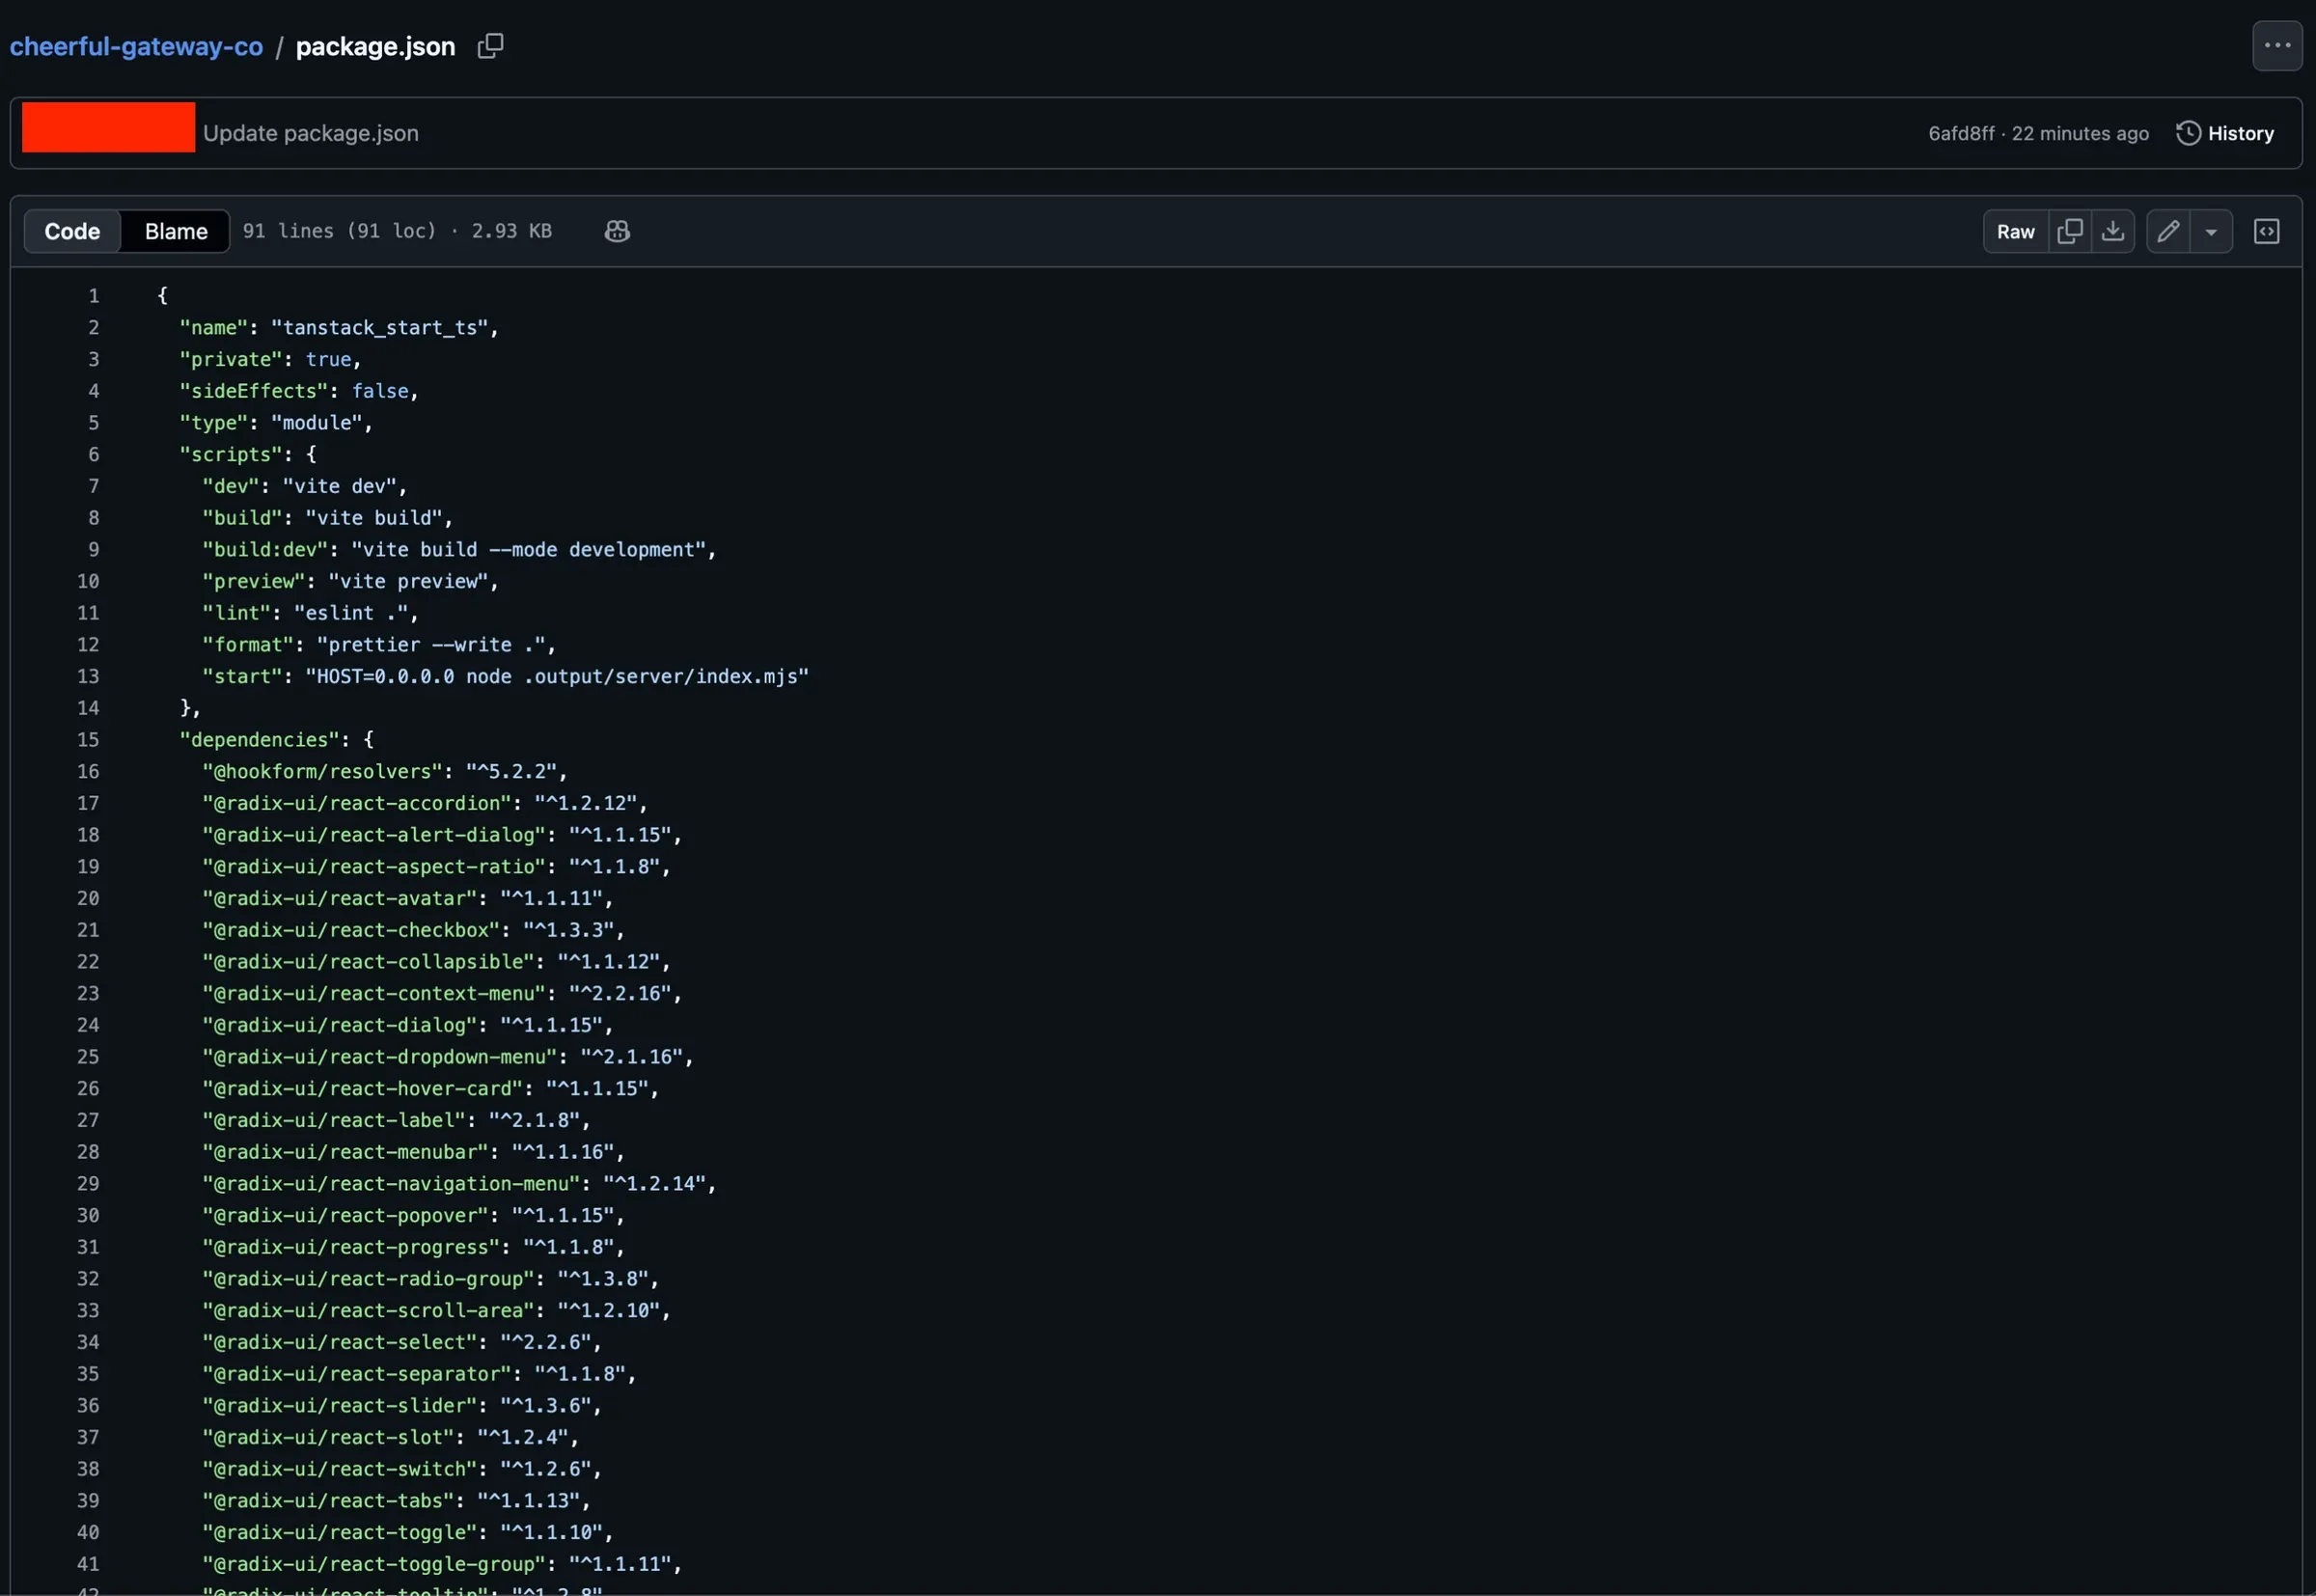
File to edit: package.json
Make the following two additions:
- The
startscript: Update it to explicitly bind to the public host (HOST=0.0.0.0) and point to the new Nitro output file (.output/server/index.mjs). - The
enginesblock: Add a strict requirement for Node 20+ to prevent WP Engine from defaulting to an obsolete Node version.
{
  "name": "your-app-name",
  "type": "module",
  "scripts": {
    "dev": "vite dev",
    "build": "vite build",
    "preview": "vite preview",
    "lint": "eslint .",
    "format": "prettier --write .",
    "start": "HOST=0.0.0.0 node .output/server/index.mjs"
  },
  "engines": {
    "node": ">=20.0.0"
  }
}
Commit and push these changes to your main branch.
Step 4: Deploying on WP Engine Headless
With the codebase prepared, you can now spin up the app directly from the Headless platform.
- Log in to the WP Engine User Portal.
- Navigate to the Headless Platform tab.
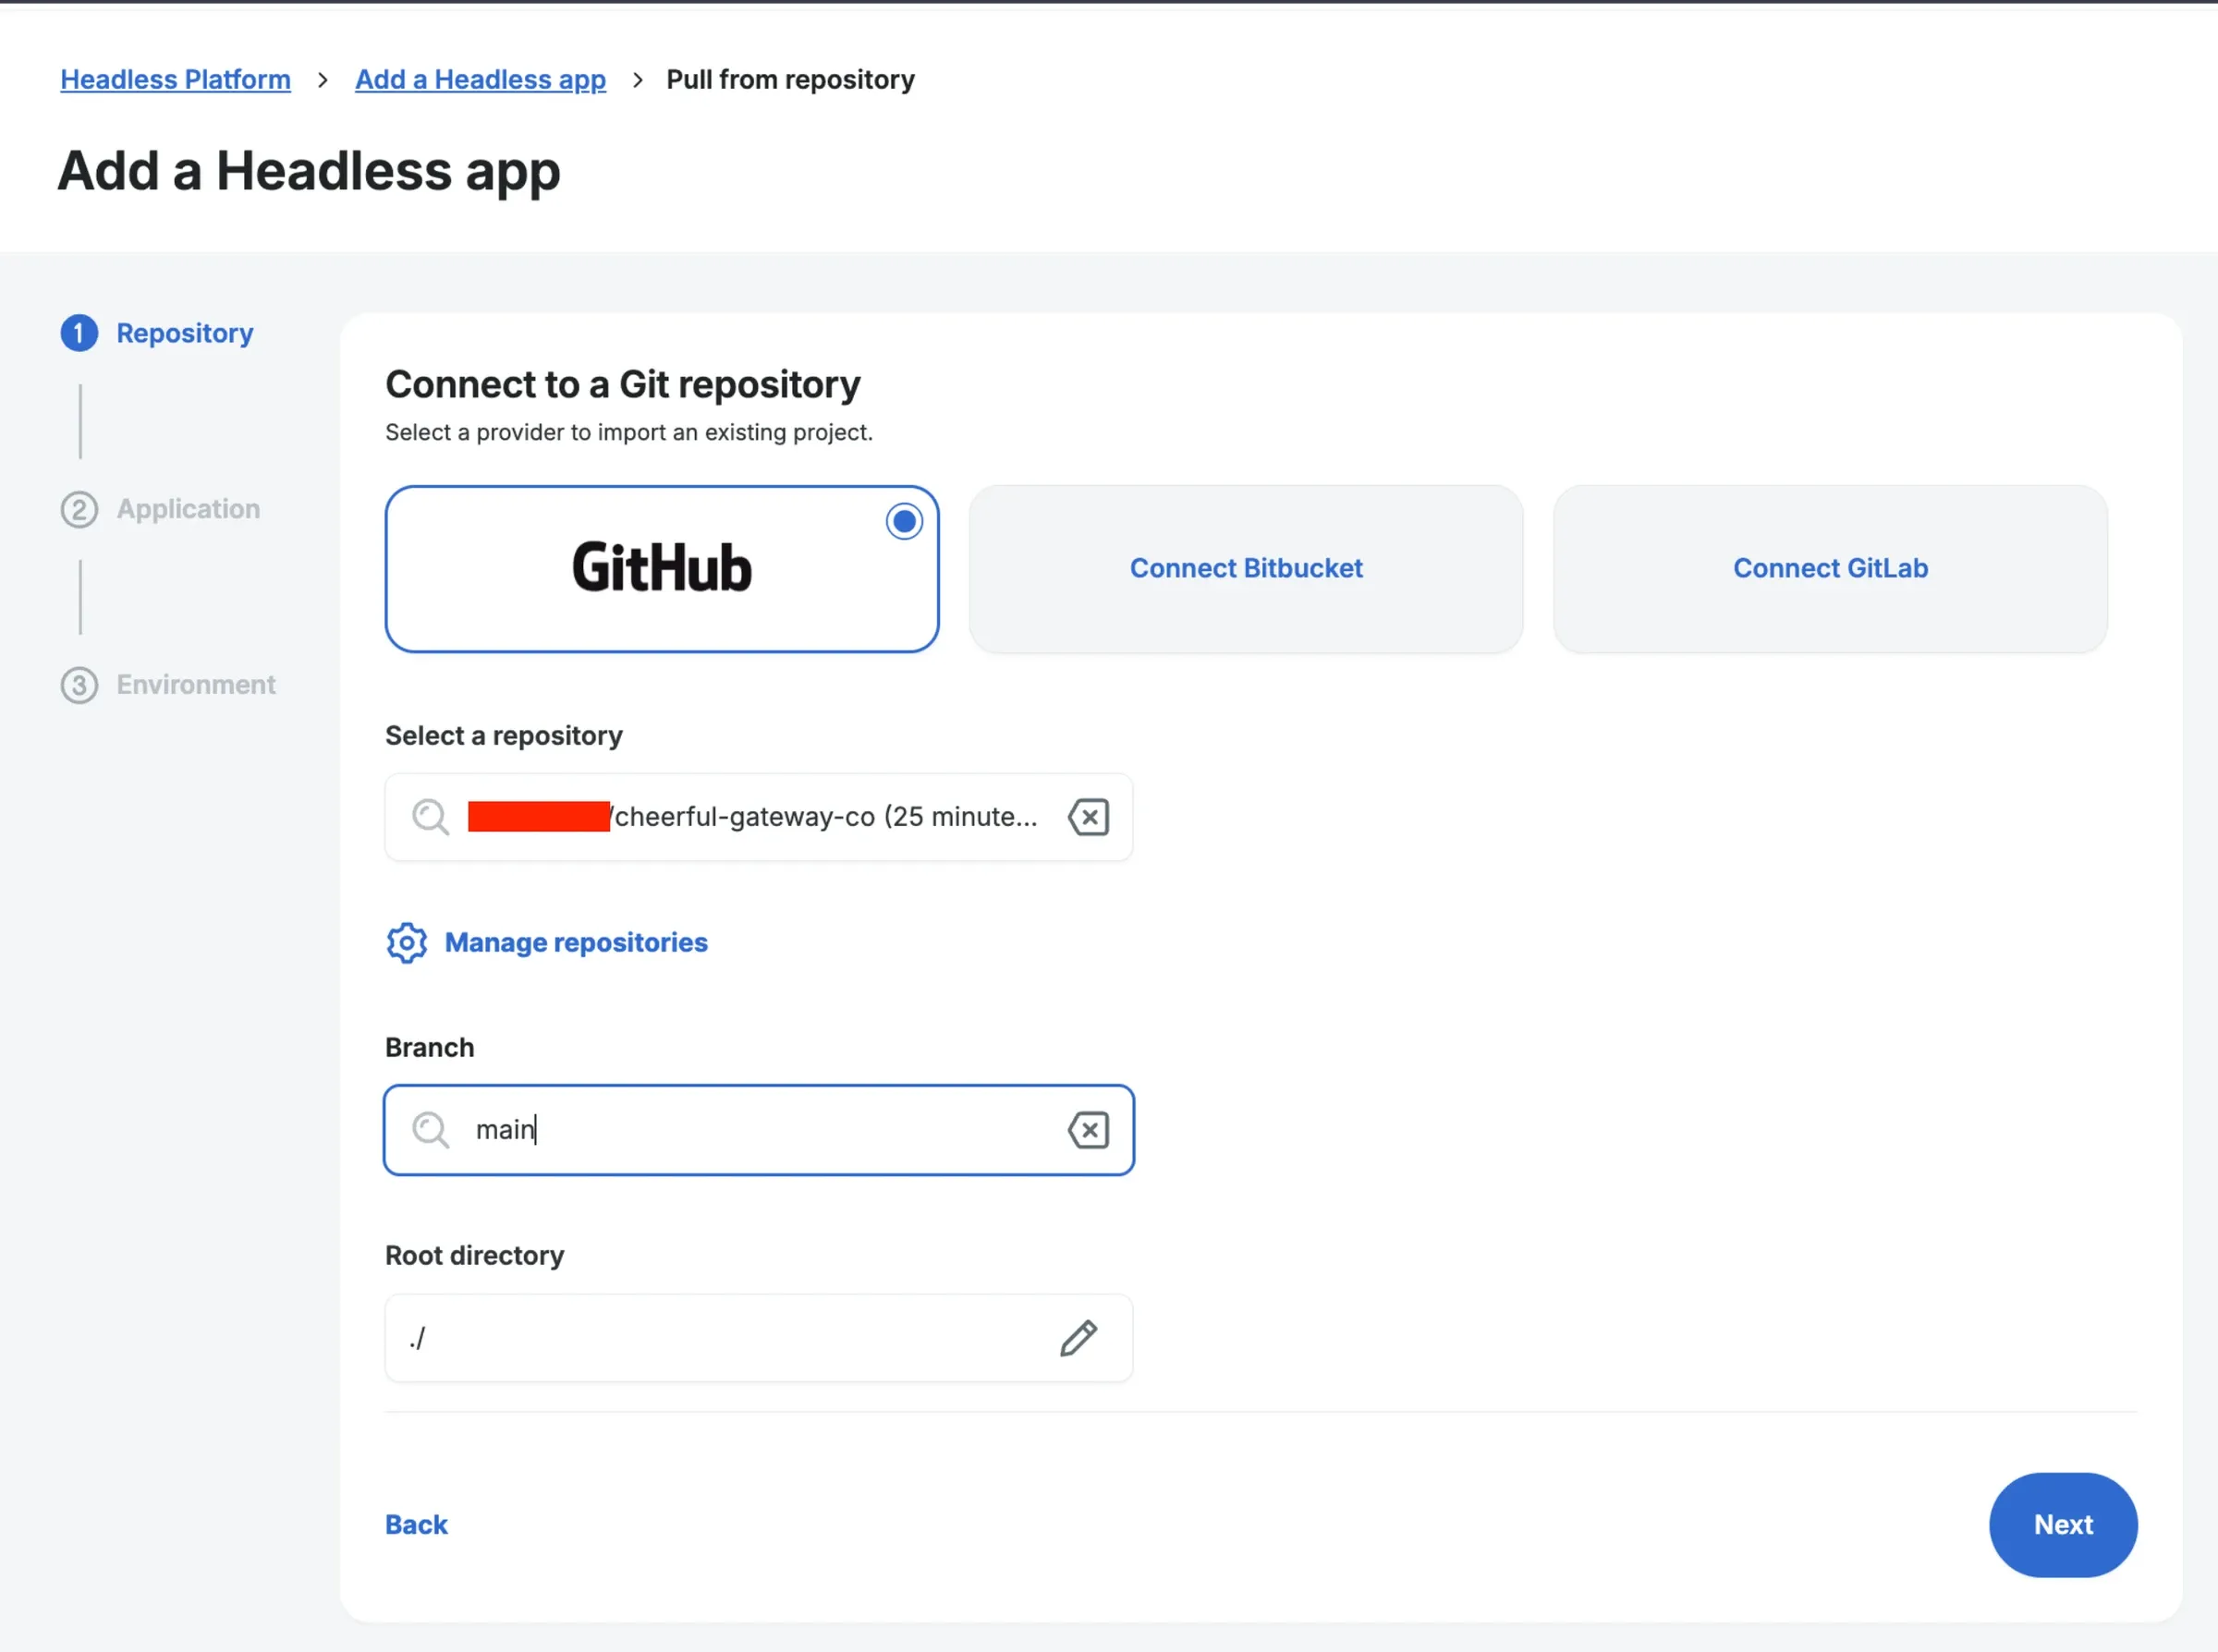
- Click Add App -> Deploy from Existing Repo.
- Authorise your GitHub account and select your newly configured Lovable repository.
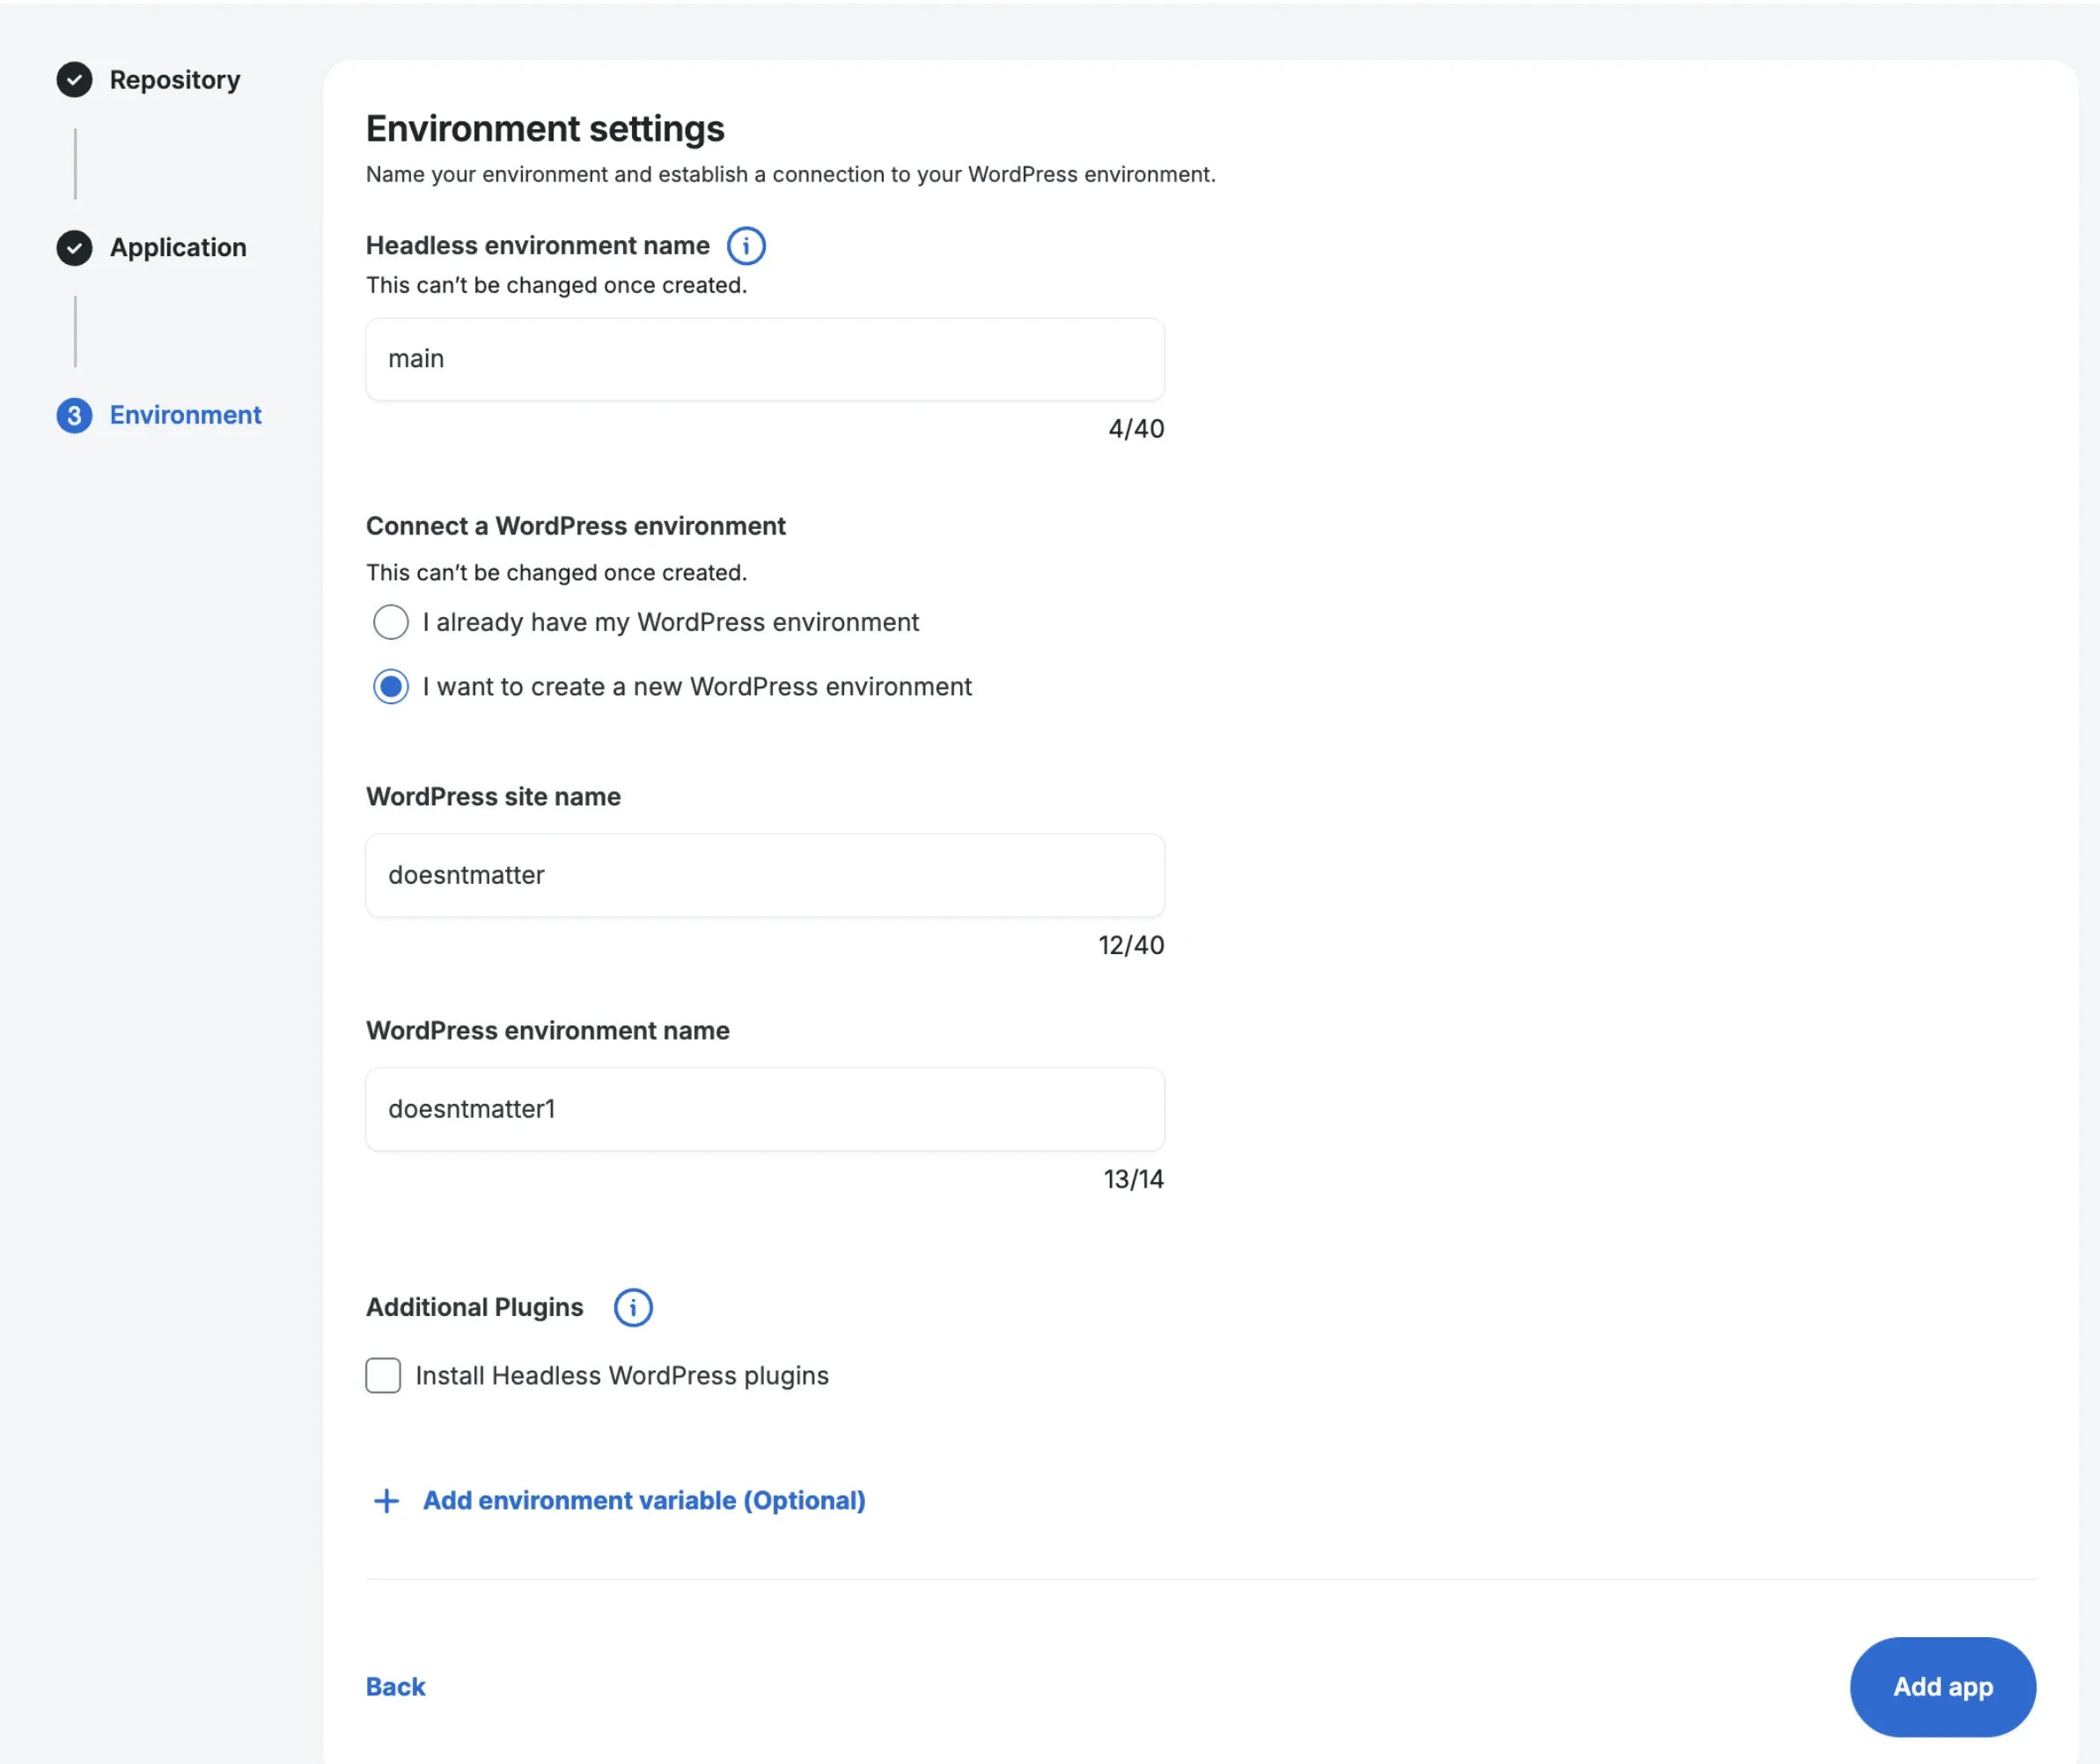
- The Environment Setup Step: During the setup wizard, WP Engine will prompt you to connect a WordPress environment.Crucial WP Engine Architecture Note: Because WP Engine is fundamentally a WordPress platform, their Headless infrastructure requires every Node.js app to be linked to a standard WordPress environment.Simply click to Create a new environment (or select an existing blank one) right there in the wizard. It will not actually be used by your Lovable app, but it must exist to satisfy WP Engine’s routing requirements.
- In the final configuration step:
- Root Directory: Leave as
/(unless you are using a monorepo). - Build & Start Commands: Leave blank. WP Engine will automatically detect
npm run buildand your updatednpm run startfrom yourpackage.json.
- Root Directory: Leave as
- Click Deploy.
WP Engine will now install Node 20, compile the Vite app, build the Nitro Node server, and execute the HOST=0.0.0.0 node .output/server/index.mjs command to bring your site live.
Step 5: Continuous Integration & Auto-Deployment
Once the initial deployment is complete, your Lovable project is fully synced with your live WP Engine environment via GitHub.
When you prompt Lovable to make changes to your application, the platform automatically handles the entire CI/CD pipeline:
- Making the Change: You ask Lovable for a UI or code update.
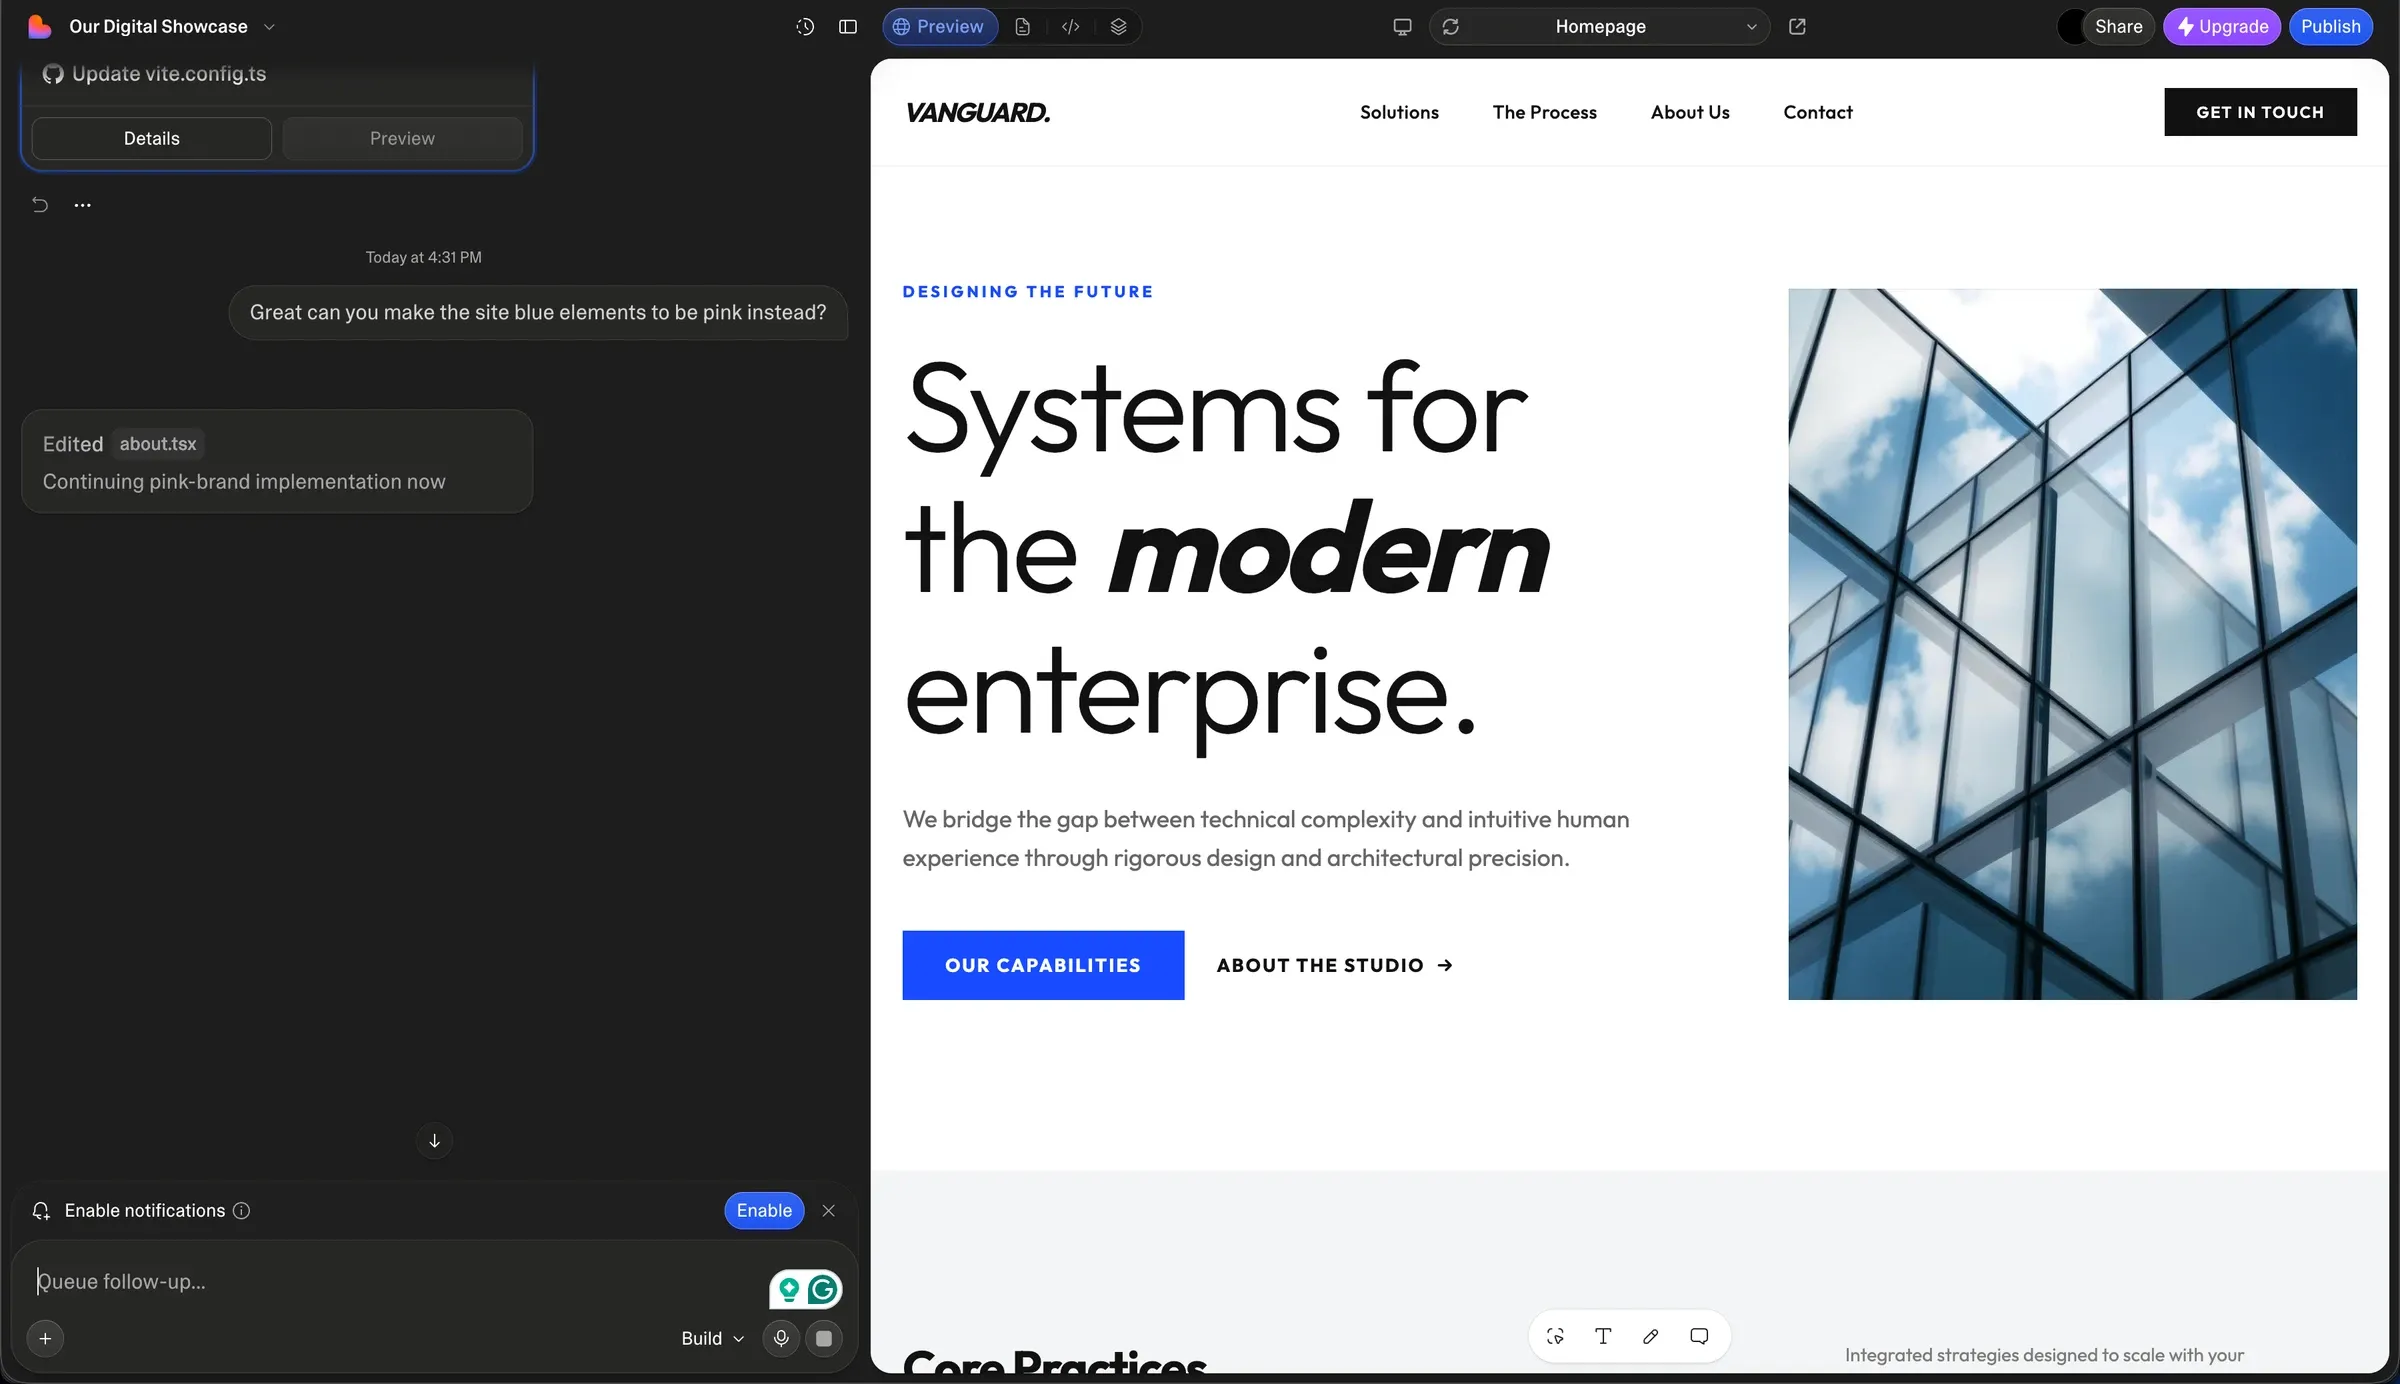
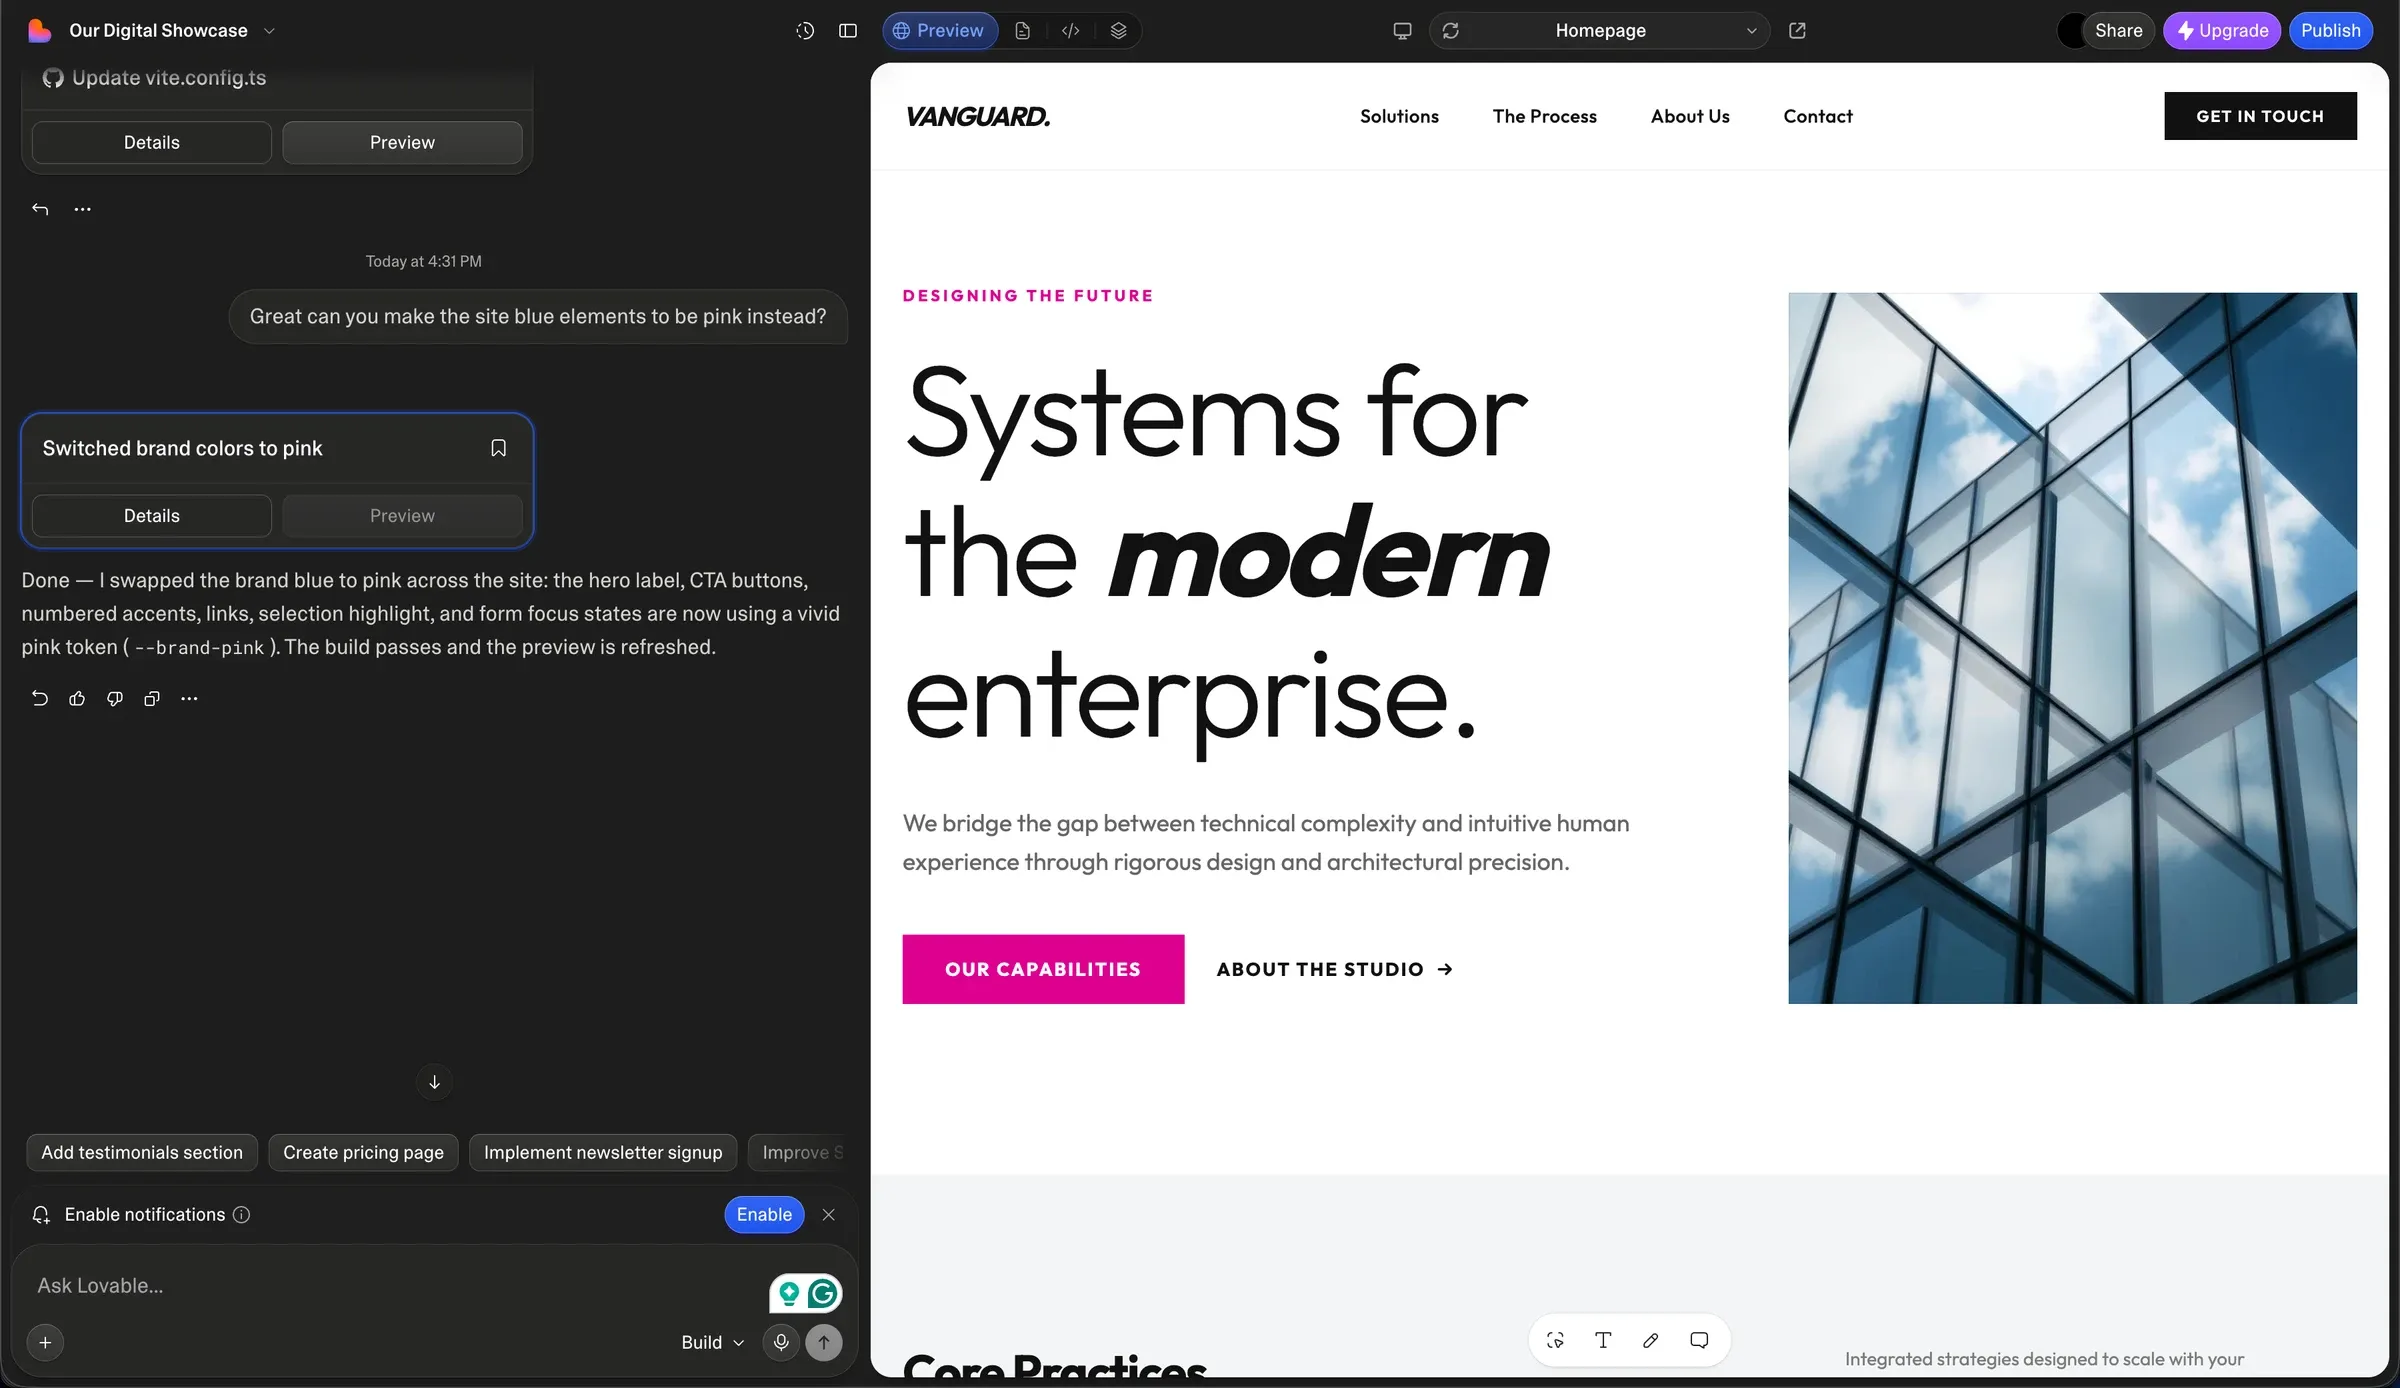
- Lovable Commits: Once the preview refreshes and changes are made, the
lovable-dev[bot]automatically pushes a new commit directly to your connected GitHub repository.
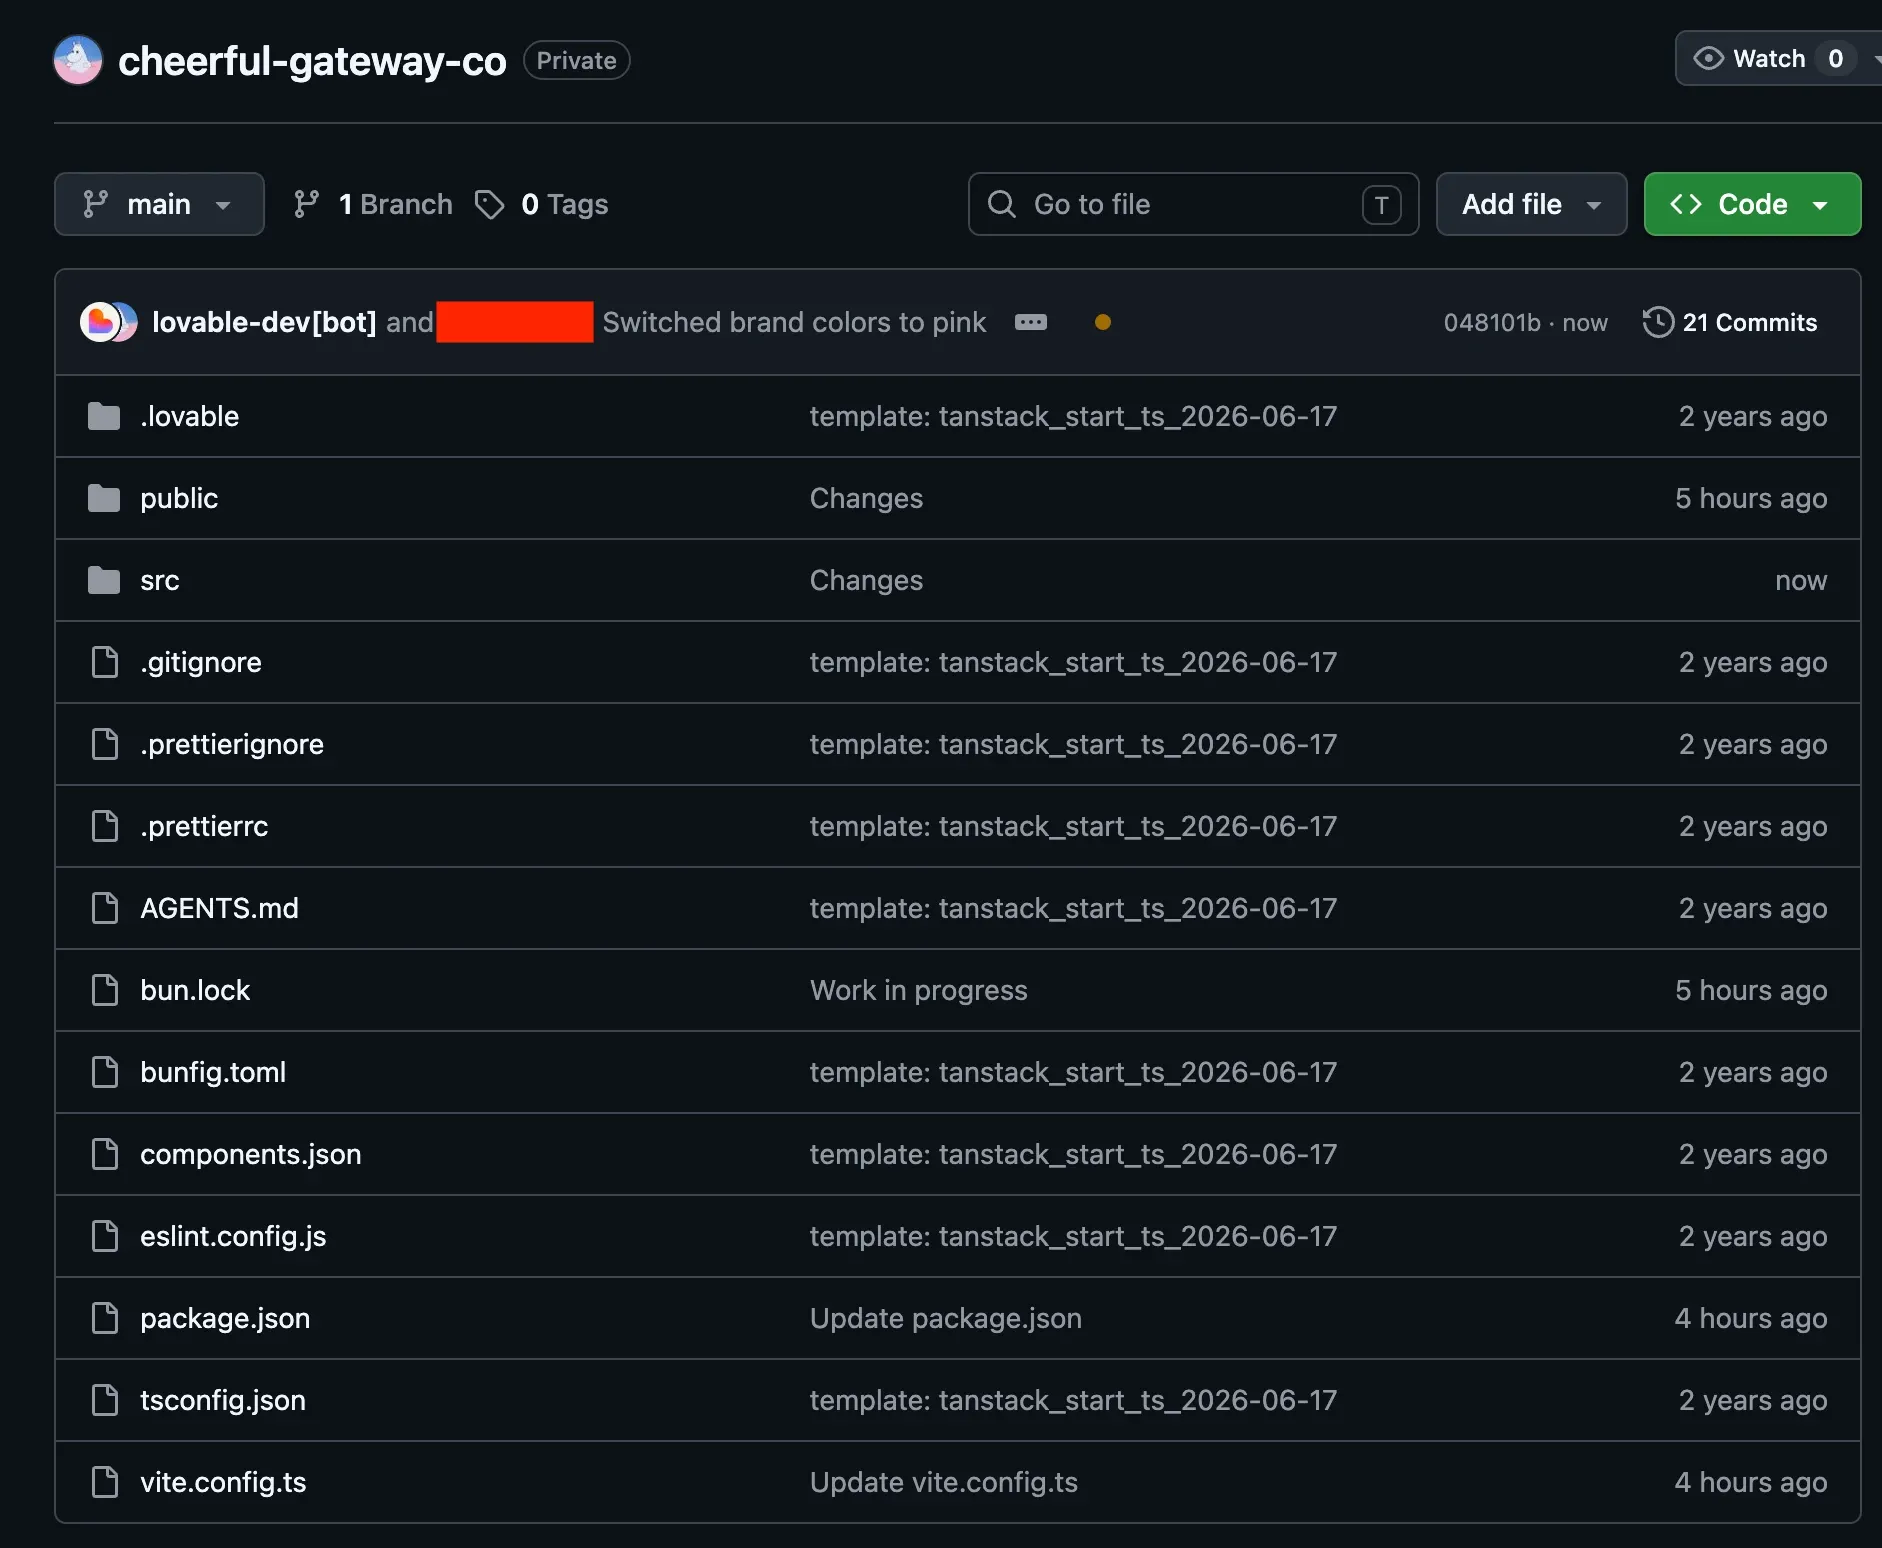
- WP Engine Triggers: WP Engine detects the new commit on your branch and immediately spins up a new deployment build.
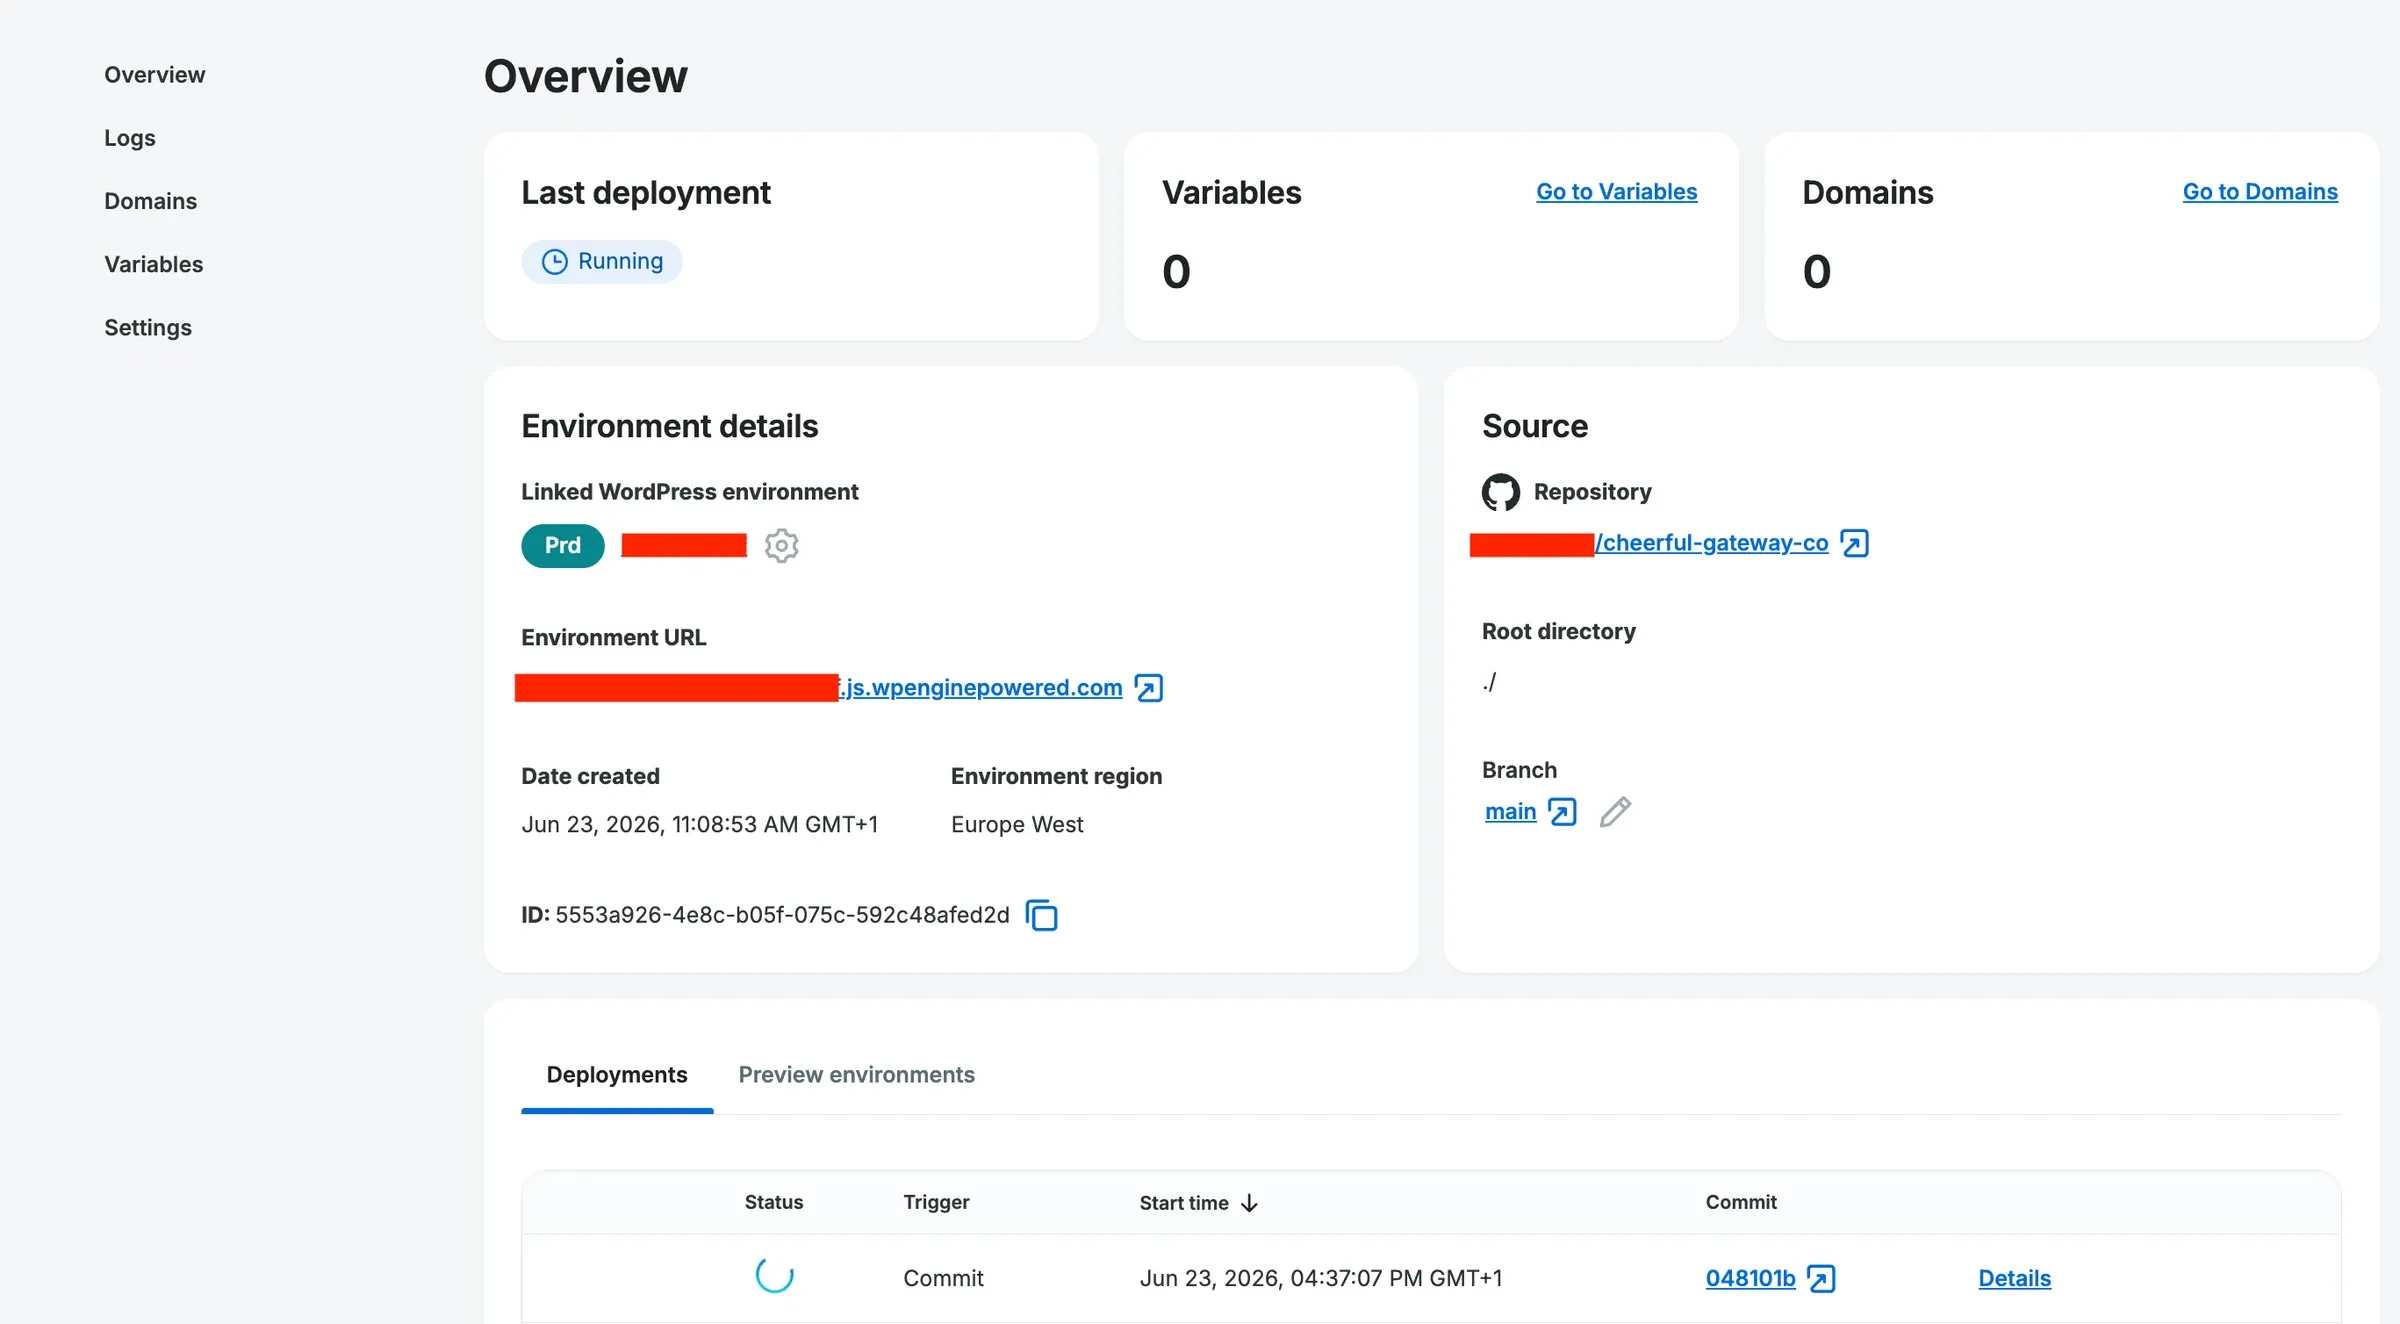
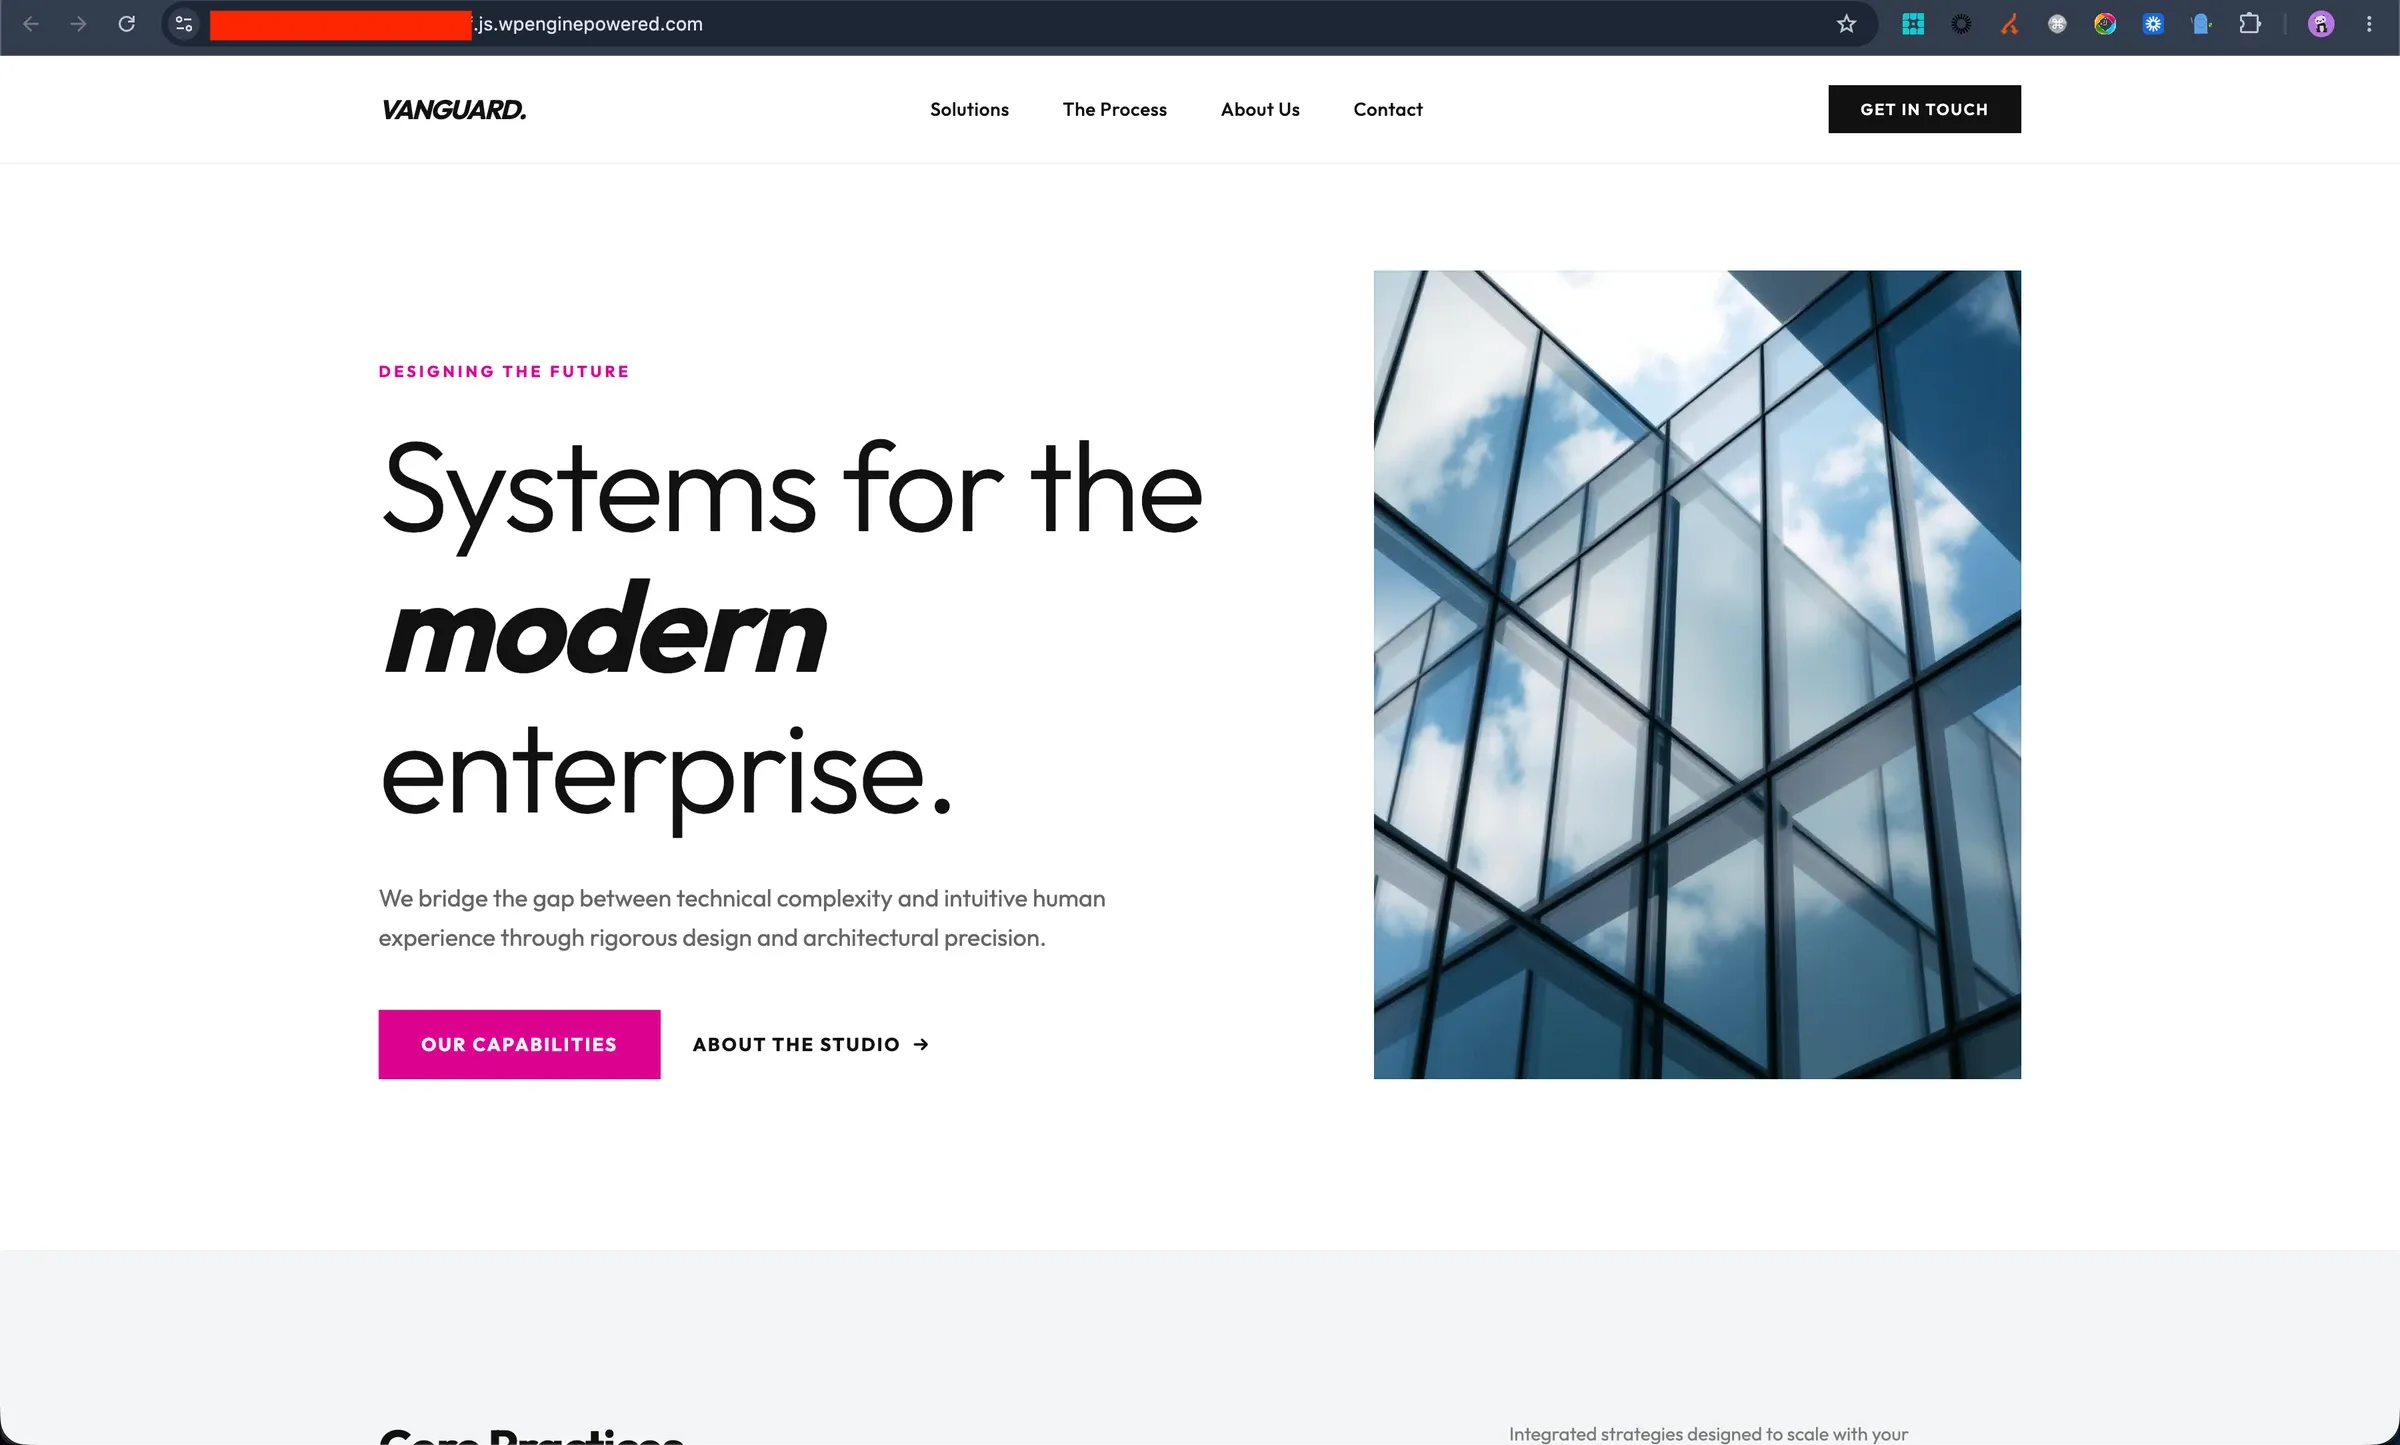
- Live Update: Once the build succeeds, the changes are instantly reflected on your live WP Engine URL!
Best Practice: Isolating Production via a Staging Branch
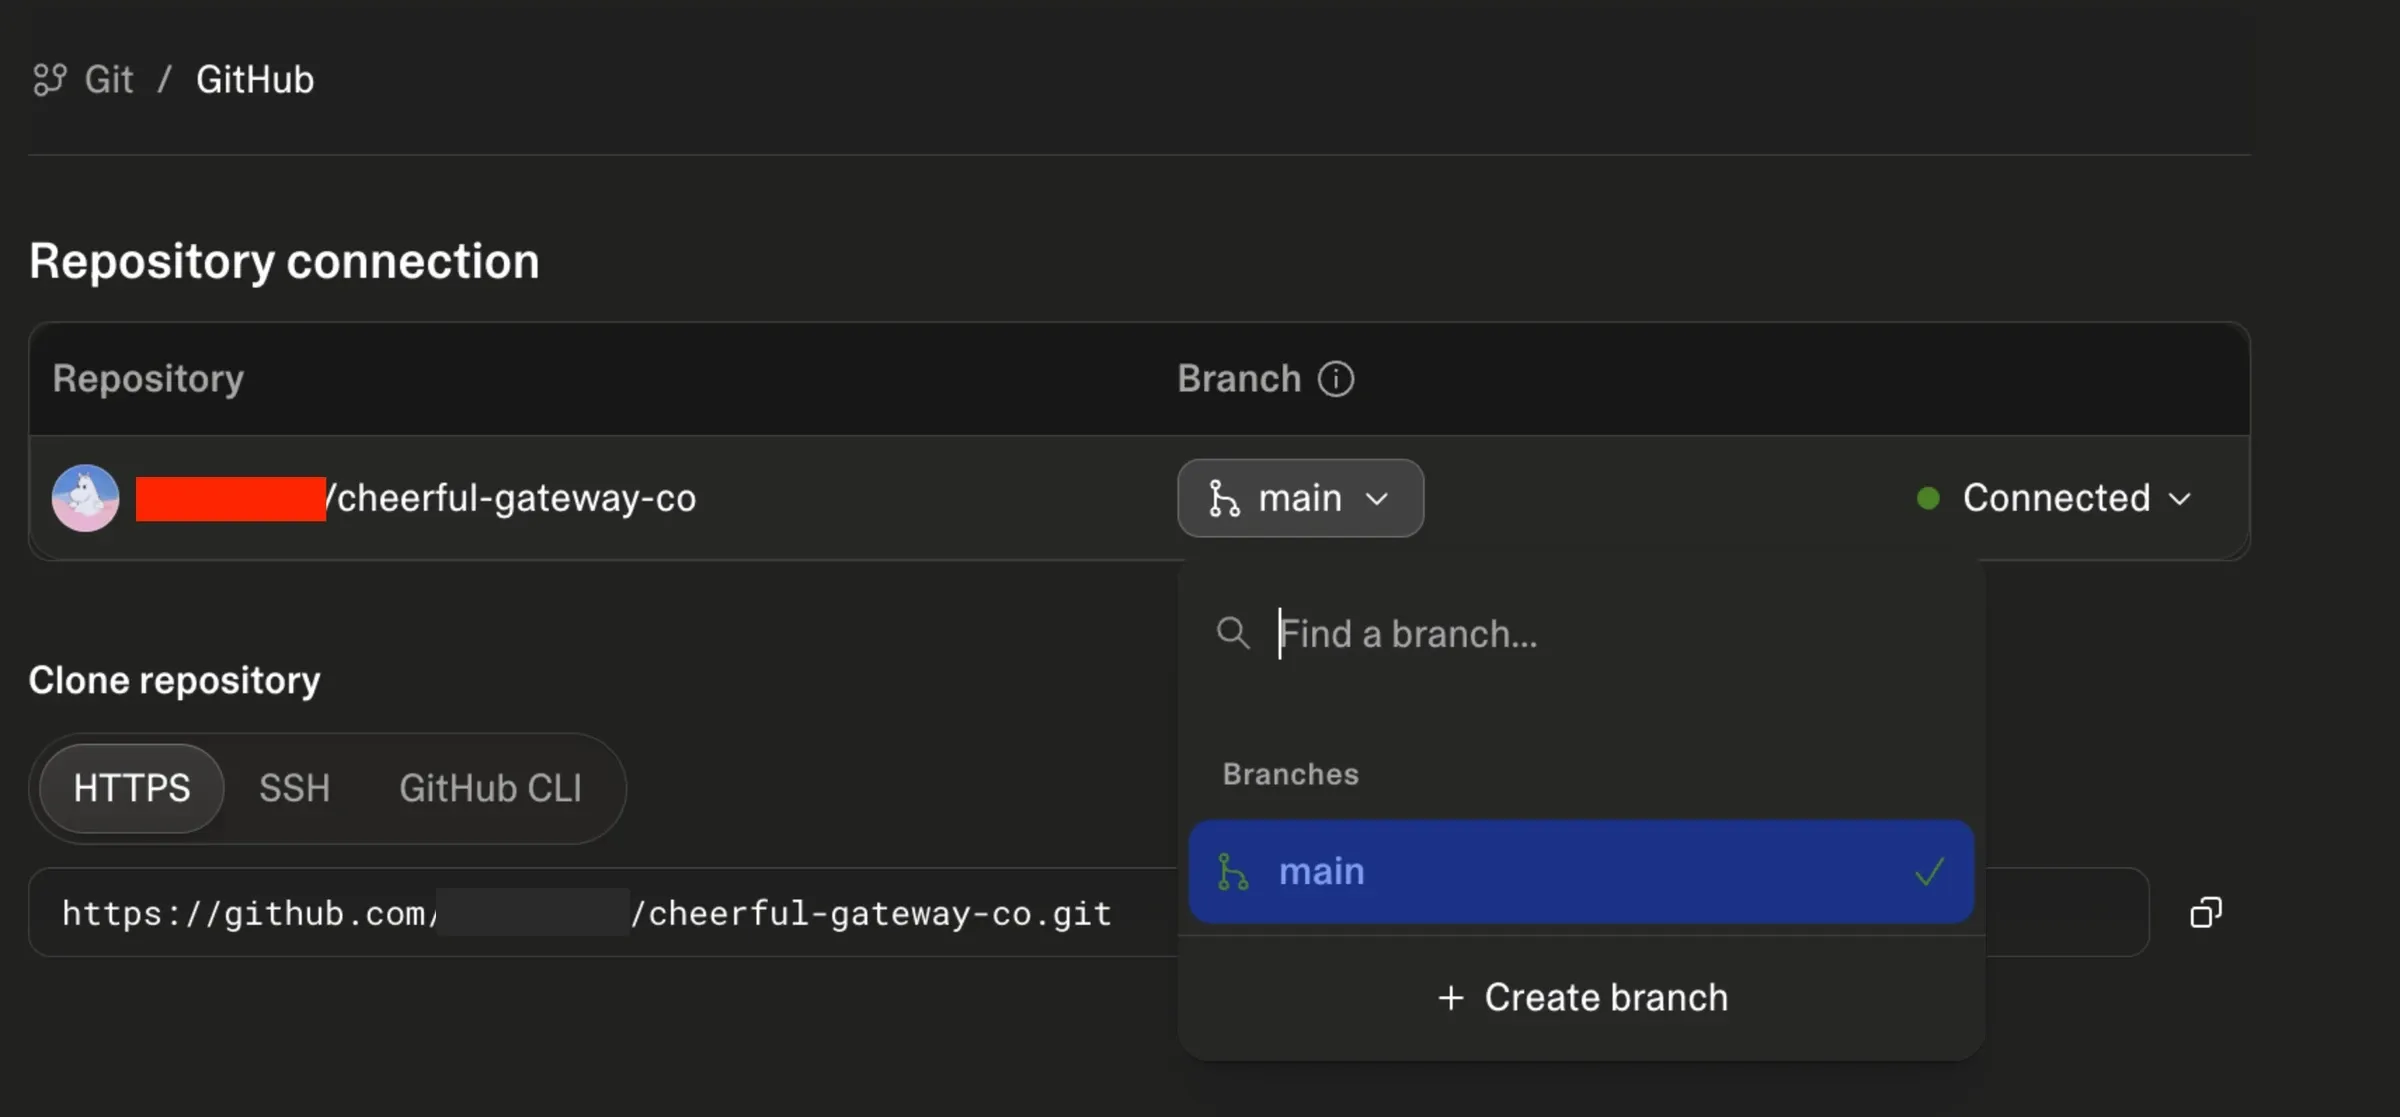
By default, Lovable connects directly to your production branch. If you do not want every single Lovable chat prompt to auto-deploy immediately to your live production URL, implement this streamlined Git workflow:
- WP Engine (Production): Set it to watch the
mainbranch. - Lovable Integration: Set it to target a
stagingbranch.
The Workflow
- Develop in Lovable: Every change you make and accept in the Lovable editor will automatically commit and push to the
stagingbranch on GitHub. - Review: Use Lovable’s built-in editor preview to verify that the changes look and behave correctly.
- Go Live: When you are ready to publish, open a Pull Request in GitHub to merge
stagingintomain. - Auto-Deploy: The moment the merge is approved, WP Engine will detect the update on
mainand automatically trigger your production deployment.
Optional Advanced Tip: If you ever have a complex feature where you don’t trust the editor preview and absolutely must see how it runs on WP Engine’s actual Node containers before going live, you can optionally spin up a second “staging app environment” inside the WP Engine Headless dashboard and point it to that same staging branch.
Skills used
Vite, TanStack Start and Nitro build configuration, Node.js deployment, Git-based CI/CD (GitHub to WP Engine’s Headless Platform), headless WordPress architecture, adapting AI-generated code (Lovable) for production hosting, troubleshooting builds.